ZWave Smart Switch: The Ultimate Upgrade for Your Smart Home
ZWave smart switch make this possible, blending convenience, efficiency, and modern style into your home. In this article, we’ll explore why ZWave smart switch are a game-changer, how they work, and how to choose the perfect one for your needs.
What Are ZWave Smart Switch?
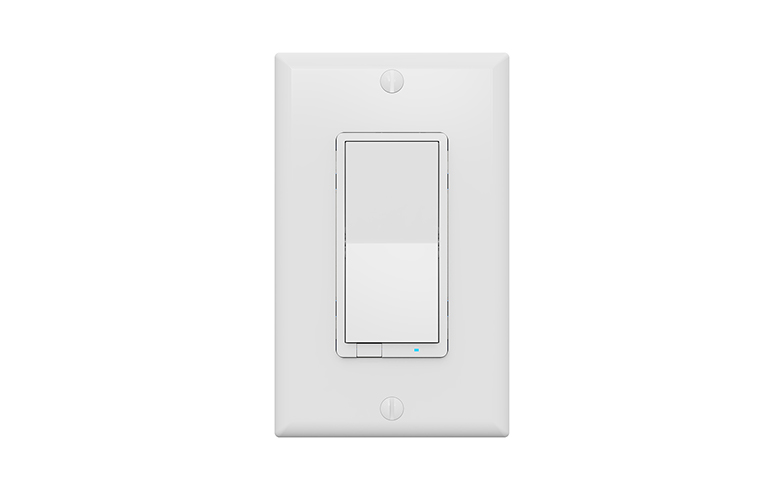
Let’s start with the basics. A Z-Wave smart switch replaces your traditional light switch, connecting to a wireless Z-Wave network to let you control lights or appliances remotely. Unlike Wi-Fi devices, Z-Wave operates on a low-frequency radio wave, reducing interference and extending range through a “mesh network” (where each device boosts the signal). The result? Reliable, energy-efficient control from anywhere.
Why Choose ZWave Smart Switch for Your Home?
Still using old-fashioned switches? Here’s why Z-Wave is worth the upgrade:
1. Effortless Control, Anytime, Anywhere
First and foremost, Z-Wave smart switches let you manage lights and devices from your smartphone, tablet, or voice assistant (like Alexa or Google Home). Forgot to turn off the porch light after leaving home? No problem—tap the app instead of driving back.
2. Save Energy (and Money)
Z-Wave switches help cut energy waste. Schedule lights to turn off automatically at bedtime or set “away mode” to mimic your presence while you’re on vacation. Over time, these small tweaks add up to lower bills.
3. Compatibility Galore
Z-Wave is a star player in the smart home ecosystem. Whether you use Samsung SmartThings, Hubitat, or another hub, these switches integrate seamlessly. Plus, they work with hundreds of other Z-Wave devices, from door locks to thermostats.
4. Rock-Solid Reliability
Thanks to Z-Wave’s mesh network, signals hop between devices to reach your hub. This means fewer dead zones and stronger connectivity—even in large homes.
How Do ZWave Smart Switch Work?
Let’s break it down:
- Installation: Replace your old switch with a Z-Wave model (always turn off the power first!).
- Pairing: Sync the switch to your Z-Wave hub via the hub’s app.
- Control: Use the app, voice commands, or automations to manage your lights.
Pro tip: Many switches also work as repeaters, boosting the signal for other Z-Wave devices nearby!
How to Choose the Right ZWave Smart Switch
Not all switches are created equal. Keep these factors in mind:
Single-Pole vs. 3-Way
- Single-pole: Controls one light from one switch (ideal for most rooms).
- 3-Way: Controls one light from two switches (perfect for stairways or large spaces).
Load Type
Check if your switch supports incandescent, LED, or fluorescent bulbs. Some models require a neutral wire, so verify your home’s wiring first.
Design and Features
- Toggle vs. Paddle: Prefer a classic flip switch or a sleek touchpad?
- Dimming: Want adjustable brightness? Opt for a dimmer-compatible model.
- Scene Control: Advanced switches let you trigger multiple actions (e.g., “Movie Night” dims lights and closes blinds).
Installing Your ZWave Smart Switch: A Step-by-Step Guide
Ready to DIY? Here’s a quick overview:
- Turn Off Power at the circuit breaker.
- Remove the Old Switch and disconnect wires.
- Connect the Z-Wave Switch (follow the manual’s wiring diagram).
- Secure and Test the switch before restoring power.
- Pair with Your Hub using the app.
If you’re unsure, hire an electrician—safety first!
The Future of Home Automation with Z-Wave
Z-Wave technology keeps evolving. Newer switches support faster pairing, enhanced security, and even energy monitoring. As more homes go smart, Z-Wave’s interoperability ensures your devices will stay relevant for years.
Ready to Make the Switch?
Z-Wave smart switches offer a perfect mix of convenience, efficiency, and future-proof tech. Whether you’re a smart home newbie or a seasoned pro, upgrading your switches is a small change with big rewards. Start with one room, experiment with automations, and watch your home transform!

